b. Create S3 bucket and upload test data
In this step, you will create a new Amazon S3 bucket and upload test data in it. This bucket will then be linked to the FSx Lustre filesystem created in the previous step.
You can create S3 bucket either via AWS console or via AWS CLI. For this lab you are going to use AWS CLI to create S3 bucket and upload data. However, later on you will also be able to take a look at the S3 console to view the bucket and its contents.
- Navigate to your Cloud9 IDE and on the Cloud9 terminal create S3 bucket with unique name.
The bucket name must start with s3://. Choose a random prefix, postfix, or append your name.
BUCKET_POSTFIX=$(python3 -S -c "import uuid; print(str(uuid.uuid4().hex)[:10])")
BUCKET_NAME_DATA="fsx-dra-${BUCKET_POSTFIX}"
aws s3 mb s3://${BUCKET_NAME_DATA} --region ${AWS_REGION}
Keep note of your bucket name. If you forget your bucket name, you can view it in the Amazon S3 Dashboard.
- Store bucket name in the env_vars script.
echo "export BUCKET_NAME_DATA=${BUCKET_NAME_DATA}" >> ~/environment/env_vars
echo ${BUCKET_NAME_DATA}
- Download a file from the Internet to your Cloud9 instance. For example, download synthetic subsurface model. The file will be downloaded on your AWS Cloud9 instance, not your computer.
wget http://s3.amazonaws.com/open.source.geoscience/open_data/seg_eage_salt/SEG_C3NA_Velocity.sgy
- Upload the file to your S3 bucket using the following command:
aws s3 cp ./SEG_C3NA_Velocity.sgy s3://${BUCKET_NAME_DATA}/SEG_C3NA_Velocity.sgy
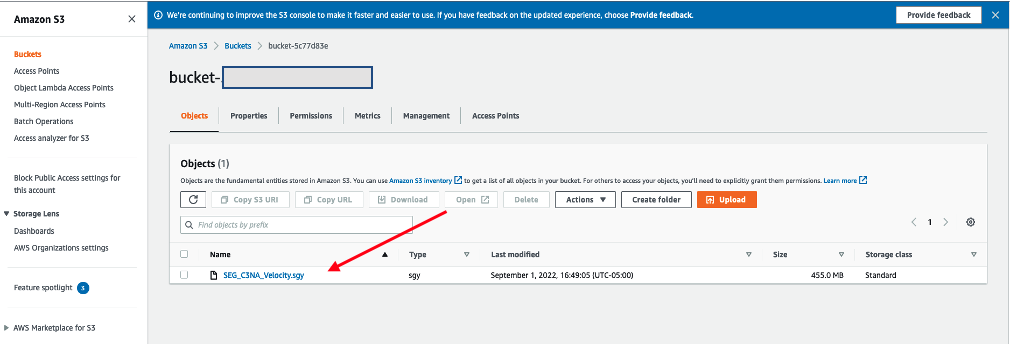
- List the content of your bucket using the following command. Alternatively, you can view the S3 Dashboard in the AWS Management Console and view your newly created bucket to see the file.
aws s3 ls s3://${BUCKET_NAME_DATA}/
- Delete the local version of the file using the command rm or the AWS Cloud9 IDE interface.
rm SEG_C3NA_Velocity.sgy
- If you would like a view of S3 through the user interface open the Amazon S3 console and click on your bucket name (bucketname-xxxx) to find the newly uploaded file.
